A detailed, reader-friendly guide for homeowners exploring basement finishing Parker, Colorado
A home should make life feel easy, organized, and comfortable. But as your family grows and routines shift, even a great layout starts to feel tight. Many homeowners in Parker hit this point and wonder: Do I need a bigger house, or can I create more room right where I am?
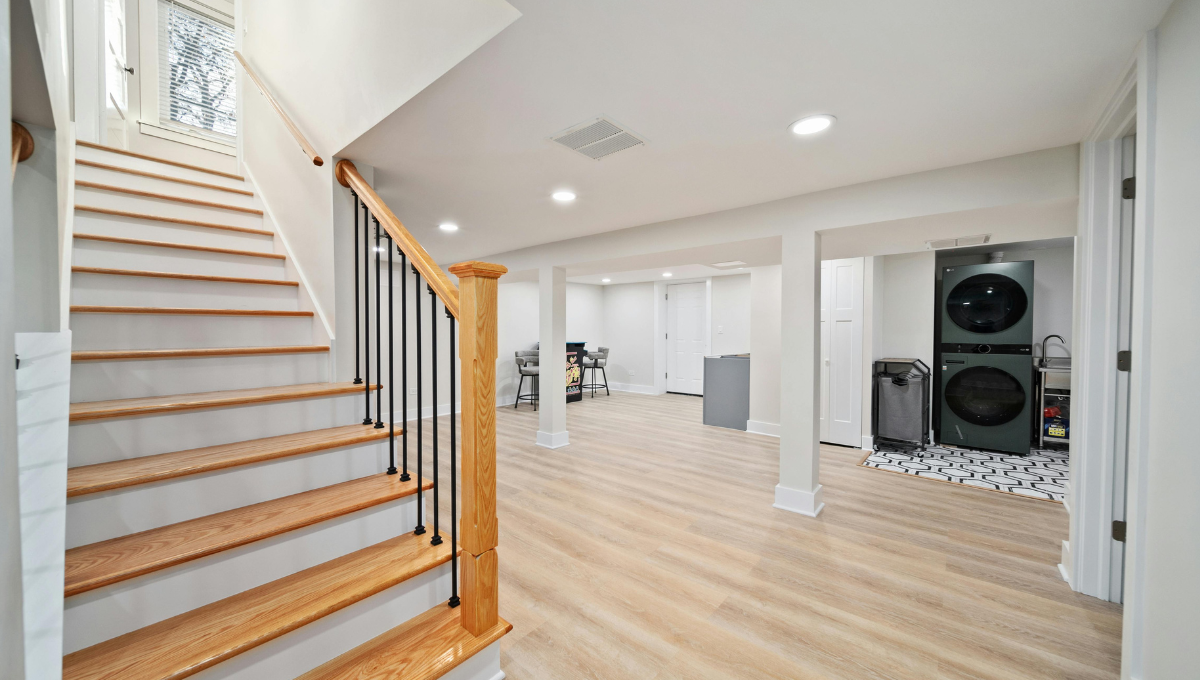
That’s where basement finishing Parker, Colorado comes in. An unused basement holds incredible potential. It can turn into a relaxing retreat, a productive workspace, or a place where your family gathers. The key is unlocking that space with the right planning and design.
Why Expanding Your Space Matters
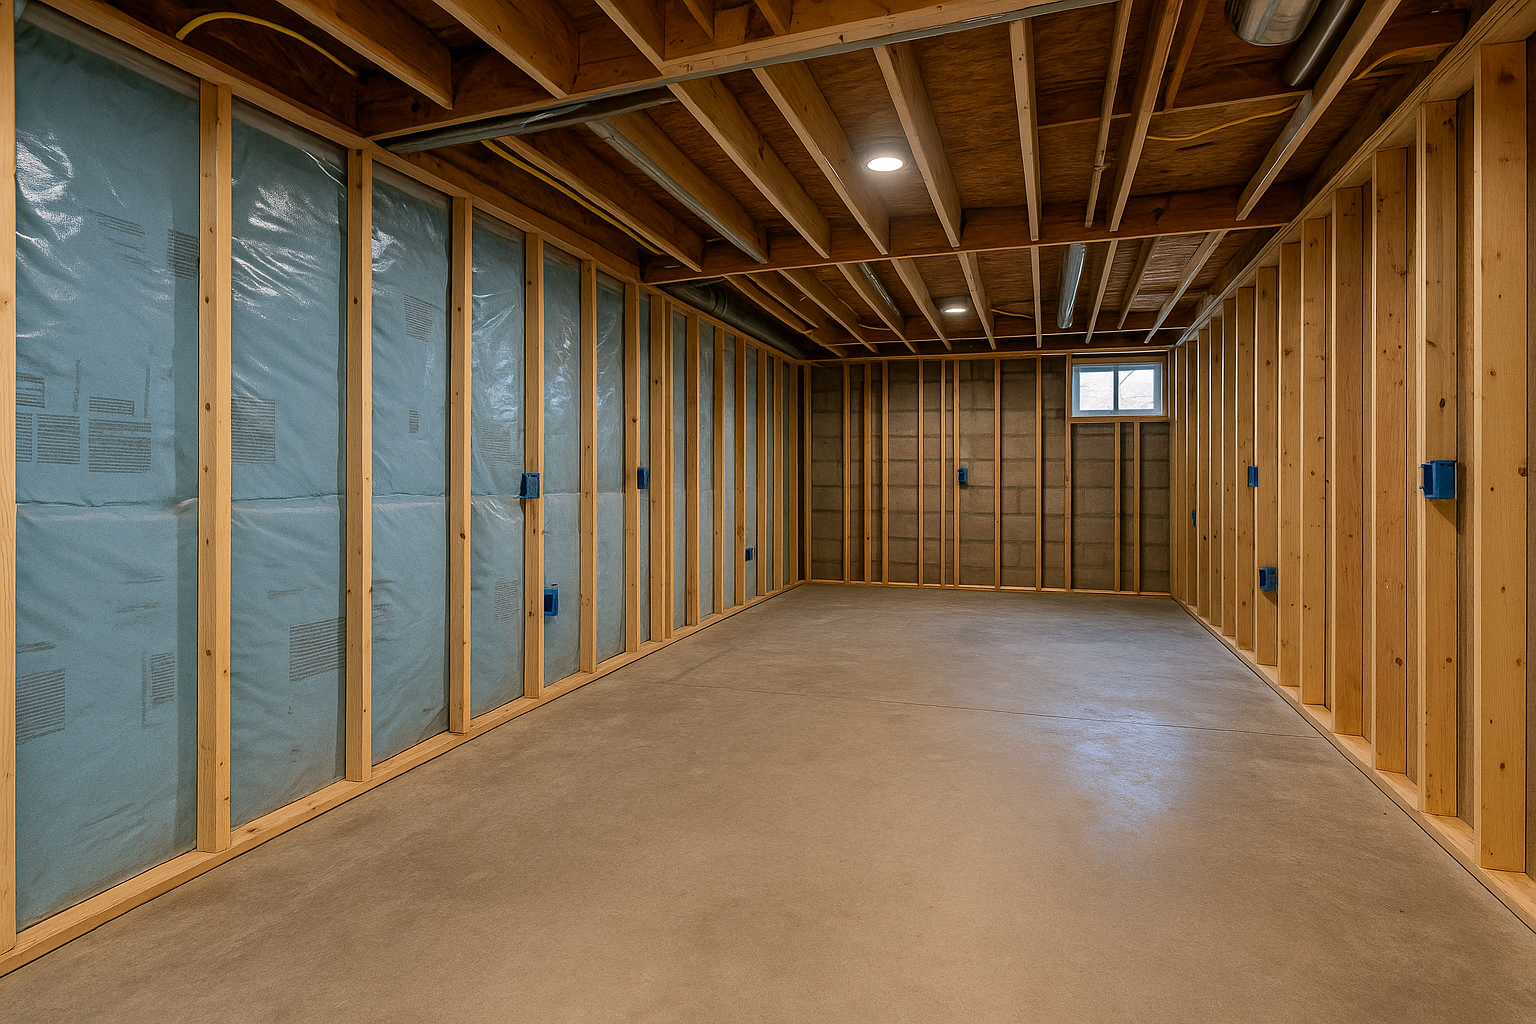
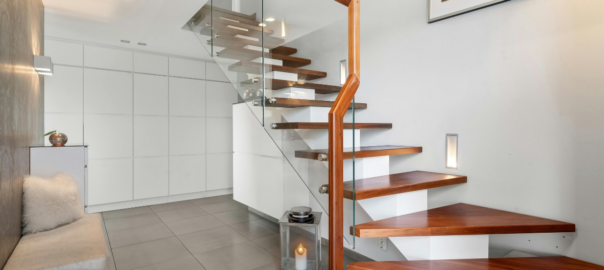
If your basement is cold, dark, or cluttered, it may not feel like part of your home. But imagine walking downstairs into a bright office, a guest suite, a gym, or a cozy lounge.
That shift can change the way you live every day.
Ask yourself:
What could you do with a full extra level of comfortable, usable space?
This is exactly why so many homeowners turn to finished basement ideas — the possibilities are nearly endless.
1. More Space Without the Cost and Stress of Moving
Colorado’s housing market makes relocating a challenge. Even if you find the perfect home, there’s packing, paperwork, delays, and weeks of disruption.
Finishing your basement gives you that extra breathing room without uprooting your life. You get to stay in the neighborhood you love while adding space that feels intentional and connected to the rest of your home.
From small finished basement ideas like compact lounge areas to full entertainment rooms, you decide how this new space supports your routines.
2. Stronger Home Value and Buyer Appeal
A finished basement often becomes one of the standout features of a home. It signals that the property is thoughtfully updated and offers more usable square footage than others in the same price range.
Buyers instantly notice the difference. A finished basement creates new possibilities:
guest accommodations, work-from-home setups, hobby spaces, and more.
This kind of flexibility boosts your home’s long-term value.
Think about it:
If you were buying a home today, wouldn’t a finished lower level feel like a major advantage?
3. Flexible Rooms for Work, Play, Guests, and Daily Life
Life at home looks different for everyone. Some need quiet space to work. Others need a room where kids can be loud without taking over the living room. A finished basement adapts to all of that.
Homeowners in Parker often turn their basements into:
- A private home office
- A fitness room with proper flooring
- A media or gaming room
- A guest suite with plenty of privacy
- A teen hangout zone
- A craft or hobby studio
These options give your home more personality and purpose. Instead of squeezing activities into small corners, each need gets its own space.
4. Cleaner, Structured Storage That Makes Life Easier
Clutter builds up faster than anyone expects. When closets overflow and the garage becomes a storage maze, the entire home feels stressful.
A finished basement lets you reset that pattern. Built-in shelves, cabinets, and organized storage rooms give everything a clear place. Seasonal items, tools, sports gear, and decorations all stay in order.
A cleaner main level makes the whole house feel more peaceful.
5. A Space That Evolves with You
Your home shouldn’t lock you into one lifestyle. A finished basement gives you flexibility for the future.
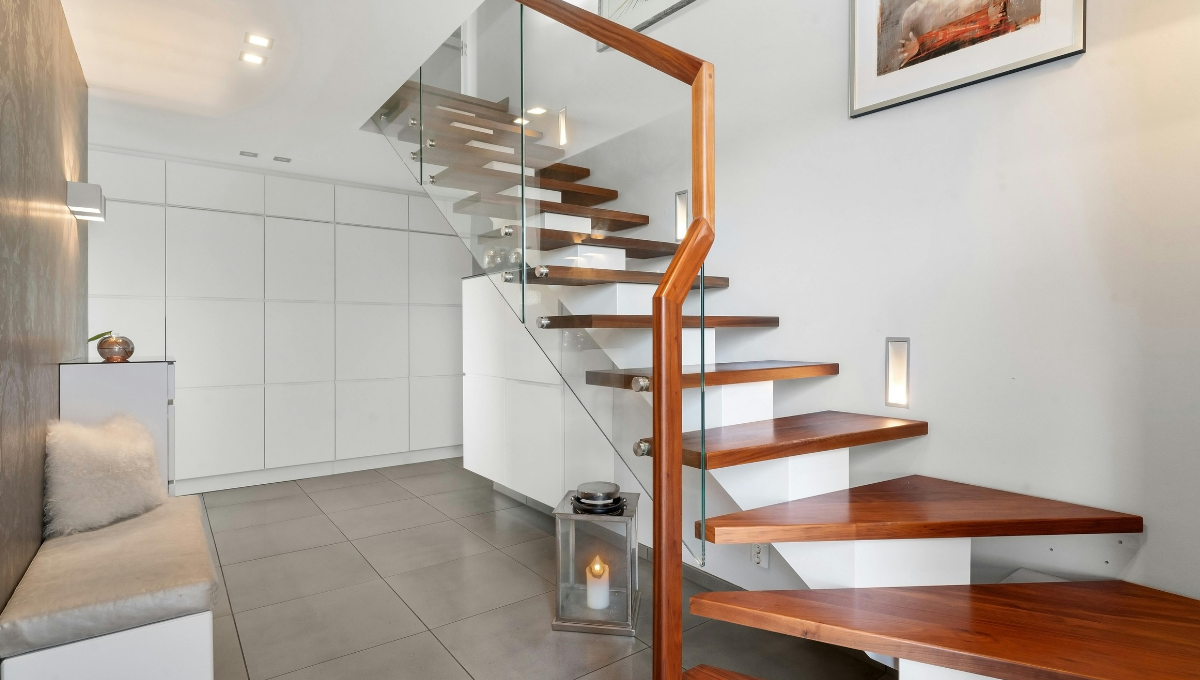
Maybe today it’s a playroom. In a few years, it becomes a study area. Later, it turns into a guest suite or a quiet retreat. With smart planning and the right basement finishing design ideas, your space evolves as your life changes.
Another question to consider:
How will your lifestyle look five years from now, and will your current layout still support it?
A finished basement sets you up for the long run.
Benefit Snapshot
- Extra living space without relocating
- Higher resale value
- Layout flexibility for changing lifestyles
- Room to explore unique finished basement ideas
- Cleaner, organized storage options
- Long-term functionality that grows with your needs
Why Homeowners Trust BIC Construction
You want a team that knows how to bring a basement to life the right way. BIC Construction has completed numerous basement projects across Parker, earning strong local recognition for craftsmanship, communication, and reliable timelines.
Homeowners consistently highlight the company’s attention to detail and organized project flow.
Conclusion
Your basement is more than extra square footage — it’s an opportunity to create comfort, value, and flexibility for years ahead.
Ready to transform your lower level? Contact BIC Construction today for expert basement finishing in Parker, Colorado.
FAQs
1. How does expanding my space add value to my home?
More finished square footage makes your home feel larger, more functional, and more appealing to buyers. A completed basement adds livable space that increases both comfort and market value.
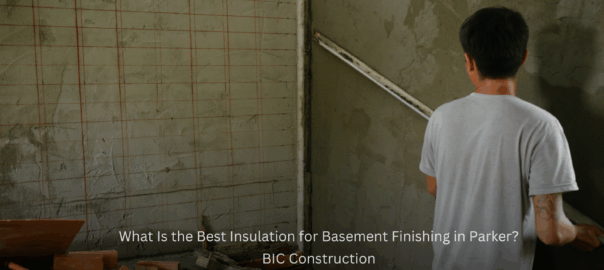
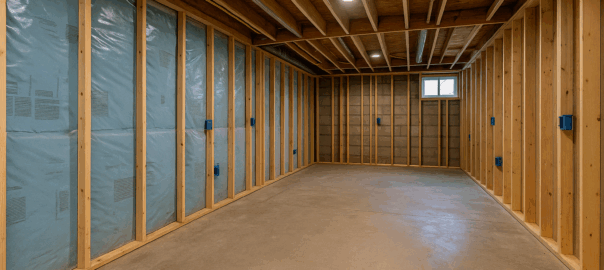
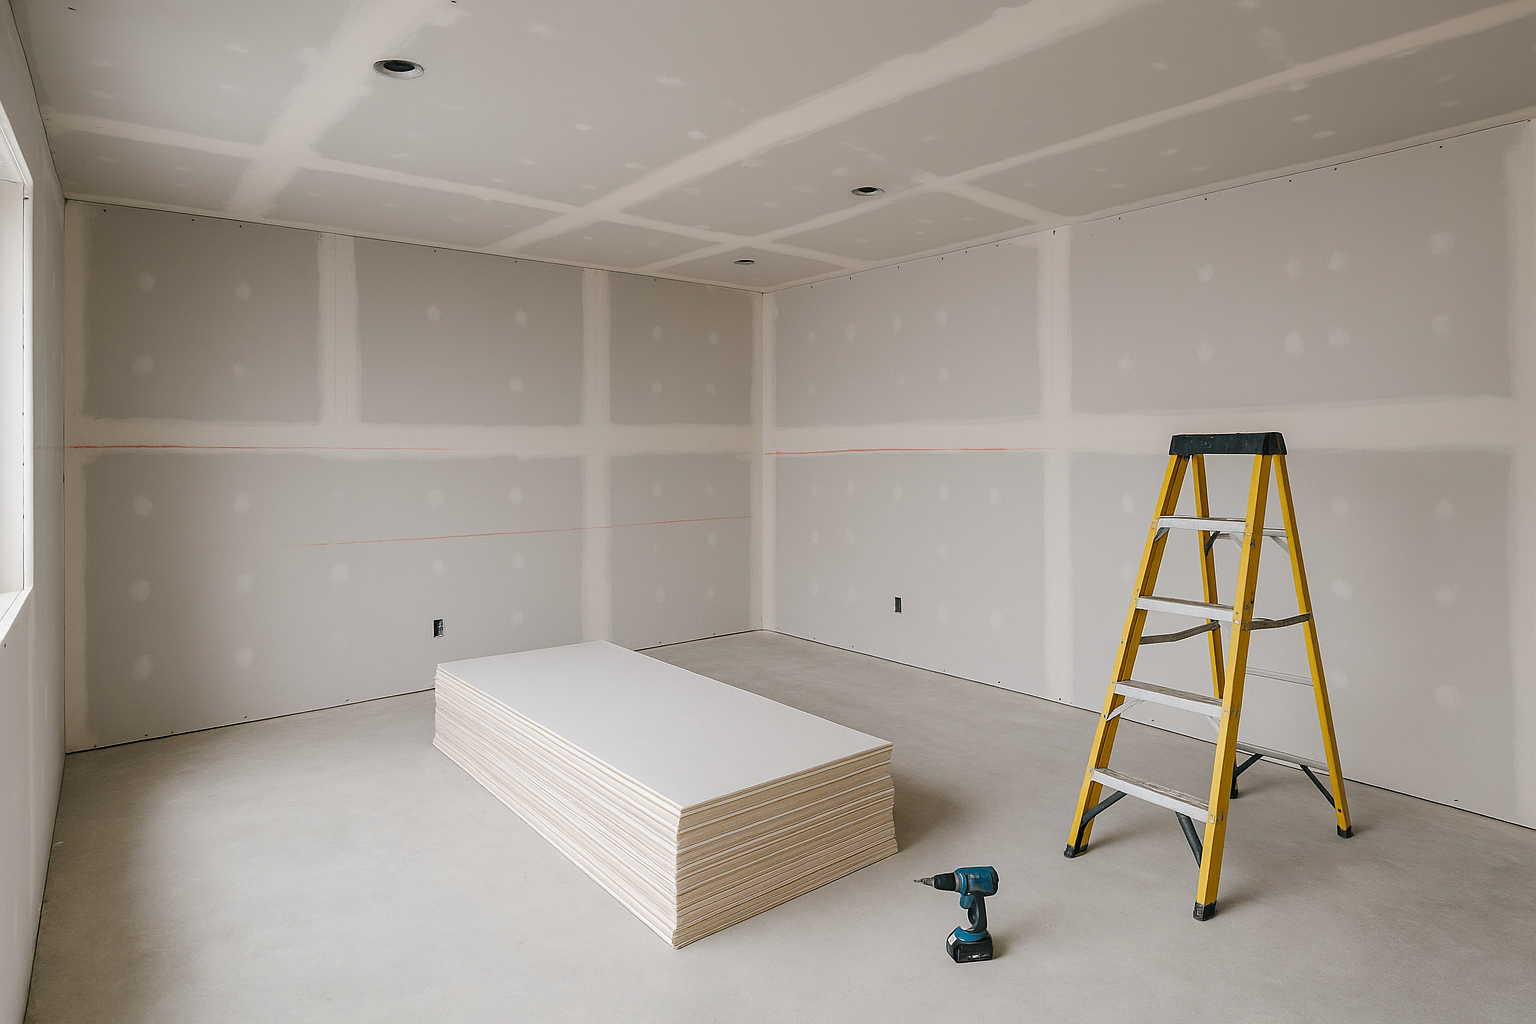
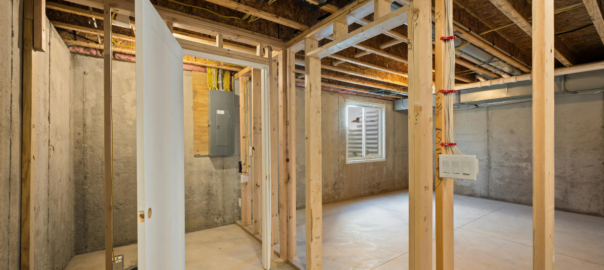
2. What do I need to know about basement finishing?
Start with a clear basement finishing checklist that covers moisture control, insulation, electrical planning, layout flow, lighting, and design choices. Looking at basement finishing design ideas also helps you visualize how each part of the space will be used.
3. What mistakes should I be alarmed for during basement finishing?
Watch out for moisture issues, insufficient lighting, overcrowded layouts, and rushed electrical or HVAC planning. Working with an experienced contractor helps avoid these common problems.